Unlock the Secret Weapon of Your Kitchen: Broiling
- Apr 22, 2024
The sleeper cooking method that chefs consistently fall back upon, yet one rarely utilized by home cooks, is broiling. Often described as upside-down grilling, broiling leverages focused heat from above to delicately cook your food, providing a grilled effect without the need to step outdoors.
Jonathan Waxman, chef and owner of Barbuto in New York, points out the value of the broiler, "The broiler is an underutilized part of the oven”. Numerous culinary professionals agree with Waxman's sentiment and encourage home cooks to embrace this fast and flavorful cooking method.
Professional kitchen setups typically have a piece of equipment tailor-made for broiling called a salamander. Its convenient position at eye level allows chefs to save their backs by avoiding unnecessary bending. Most home kitchen ovens come equipped with a built-in broiler.
The broiler exists in both gas and electric ovens. Respectively, they employ a tube-like structure similar to gas burners or a coil for induction oven uses. Broiling temperature options may vary from oven to oven, with the high broiling temperature typically ranging between 500°F to 550°F and some offering low or medium settings.
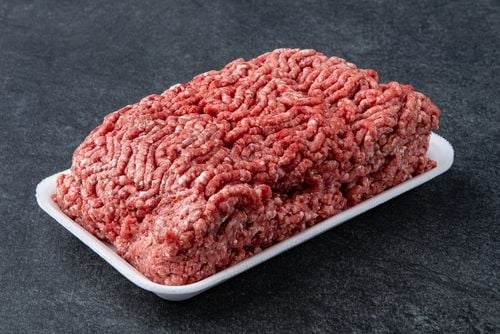
All foods that delight on a grill are perfect candidates for broiling, including meats like flank steak and pork chops, fish, vegetables, oysters, and shrimp. Foods such as salmon sides, braised short ribs, or carnitas, which risk falling through grill grates, perform wonderfully under the broiler. The broiler also shines when toasting bread, charring large quantities of food, or melting cheese for nachos.
Successful broiling depends on few strategic considerations: the nature of the dish you are broiling, the heat level, the oven rack spacing, and the selection of your pans. A golden rule to follow is even thickness of your food on the pan, ensuring uniform cooking. Managing variable thickness can also lead to exciting multi-temperature outcomes.
Before firing up your broiler, think about where your oven racks are located. Aim for a balance – close enough for browning but not so near that food gets scorched or charred. Usually, three to five inches below the broiler works well.
Allow your broiler to preheat, similarly to the conventional oven – although its smaller size typically reduces the waiting time to just five to ten minutes. While waiting, season your food and place it on a broiler pan. Don't have one? No problem, a stainless steel rack over a foil-lined rimmed baking sheet or cast-iron cookware that can handle temperatures up to 550°F will do the trick.
Lastly, proceed to broiling, remembering never to leave the food unattended. Delegate a watchful eye to monitor and manage that delightful level of charring. Rotate the pan periodically to account for hot spots while cooking.
While broiling and baking, both involve the oven; the difference lies in the location of the heat source and temperature. Baking typically ranges from 300°F to 400°F, roasting from 400°F to 475°F, both with the heat source below. Broiling involves higher temperatures starting at 500°F, with the heat source above. This allows for a multi-stage cooking process, like baking a macaroni and cheese, then broiling it for a perfectly toasty breadcrumb crust.