Master the Art of Breaded Cutlets
- Apr 15, 2024
The best of the world's breaded cutlets, from Schnitzel and Katsu to Milanese and chicken fried steak, arguably share three main qualities: a thin, succulent layer of meat, protected by a deliciously firm, crispy crust. And creating these mouthwatering dishes could be simpler than you think. By adhering to the culinary principles underpinning what is better known as the Standard Breading Procedure, a satisfying crust that binds brilliantly to the meat is only a few steps away.
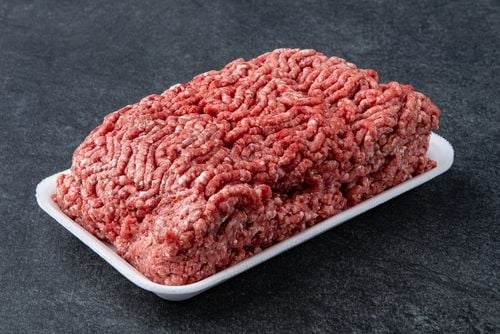
To achieve the thin and juicy cut of meat we're aiming for, it's vital to begin by pounding the cutlets to a consistent evenness. This not only tenderizes the meat, but also guarantees its speedy cooking time - just long enough for the coating to reach an appetizing crisp, golden brown. Start by placing one cutlet within a gallon-sized heavy-duty plastic bag, or between two sheets of plastic wrap or parchment paper. Using a meat mallet, the bottom of a heavy skillet or a rolling pin, pound the cutlet progressively thinner, always starting from the center and working outwards. Aim for a final thickness no greater than 1/4 inch, remembering that the larger the surface area, the better. Season your meat after it's appropriately pounded. Tip: You can prepare your thinned meat up to two days in advance and store it, covered, in the refrigerator.
To continue, an organised breading station is recommended. Set out individual bowls containing flour, beaten eggs or buttermilk, and breadcrumbs, respectively. The synergy of these ingredients is key to creating the firm, adherent crust you are after.
In the breading process, begin with a flour dredge; this offers a dry surface that allows the egg or wet ingredient (like buttermilk) to stick well to the cutlet, while shaking out the excess flour prevents any clumps. After a thorough coating with the flour, immerse the cutlet in your egg or other wet ingredient. Make sure to let any excess drip off. Lastly, press the cutlet into the breadcrumbs, ensuring that all surfaces are evenly covered.
For cooking, light shallow-frying delivers the desired crispiness. The trick is to pour just enough oil into your skillet so that it reaches about halfway up the sides of your cutlets without touching the bottom of the pan. On both sides, the cutlets should turn golden after a few minutes in the heated oil (keep it somewhere between 1/4 and 1/2 inch deep). To gauge oil readiness, drop a few breadcrumbs in-if they sizzle on contact, your oil is hot enough. After frying, drain the cutlets on wire racks to stay crispy. Using a low oven as a warmer can help to keep your cutlets warm, just remember not to leave them in too long, as this could cause their eventual drying out.